

If you work in the medical field, you’ve likely had to present a patient case report. You do a chart review, gather the physical exam and lab data, but often importing the CT scans, ultrasounds, MRIs and other video imaging for display in your PowerPoint can be a time-consuming and frustrating task.
I recently discovered an easy way to include multimedia medical images into PowerPoint in a fairly easy way. This process works on a Mac. For PCs, I’ve been told Pacstacker is the best available option for importing radiology imaging into PowerPoint.
You’ll need access to 3 things to get started. Make sure you have each of these available on the same Mac:
- The radiology image you want to capture, with the ability to scroll through
- QuickTime for Mac
- PowerPoint for Mac or PC
QuickTime includes a feature similar to the “Print Screen” feature. Instead of capturing just one image that instant, it captures your desktop activity in a selected area over time. The result is a video file you can import into PowerPoint or other presentation software.
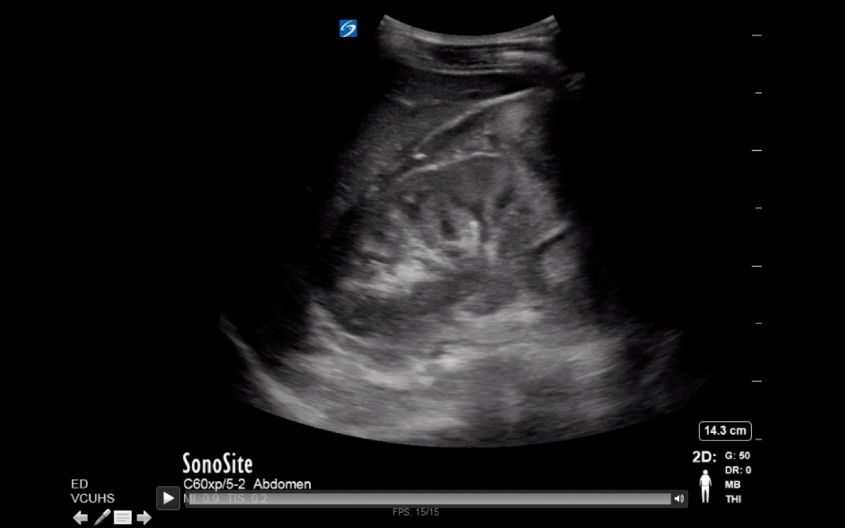
Step 1: Open up your Radiology imaging viewer and select the scan you wish to include.
Step 2: Open QuickTime. From the File menu, select “New Screen Recording.”

Step 3: When the “Screen Recording” box pops up, click the red circular button to begin.

Step 4: A tan box will appear, asking you either click once to record the full screen, or drag and select with your mouse the portion of your screen you want included in your screen capture. For capturing radiology images, you’ll want to make sure you include only the image and exclude any personal identifiers to be HIPAA compliant.

Step 5: While recording, scroll through your imaging study making sure to include everything you want to display. I recommend scrolling through by clicking the arrows on the keyboard rather than using the mouse, as the cursor may accidentally enter the image field and therefore appear in your presentation.
Step 6: Click the “Stop” button to stop recording your screen capture. The button is somewhat hidden in the bar at the top of the screen. It’s the circular icon with the square in the middle that you see in the image below (right side of the screen, leftmost).

Step 7: After you click “Stop,” you’ll be prompted to save your video to your computer. Remember the location; you’ll need to find it later when you import your video into PowerPoint.
Step 8: Open your PowerPoint presentation. To import your imaging study, Go to Insert>Movie>Movie from File. Then find your file and click OK.

Step 9: Your imaging study is now imported into PowerPoint as a video. You can scroll backward and forward as needed during your presentation. To preview your video, start your presentation and click the triangular “Play” button on the bottom left. Note: if you click anywhere else on the slide, it will advance to your next slide, not start your video.
PowerPoint has improved over the years, and videos are now automatically embedded with your presentation when you save your .PPTx file. You may need to save your presentation file to DropBox, Google Drive or another cloud storage app as the file size is usually too large to send via email.
So that’s it – a previously arduous task made surprisingly simple. I hope this saves you some stress and time.
~Steph


I enjoyed reading yourr post
LikeLike